How to Build Your Own Solar Generator – A Beginner-Friendly DIY Guide

Looking to build a solar generator without spending a fortune? Good news—creating your own solar generator is not only possible but surprisingly simple with the right tools and guidance. Whether you’re a DIY enthusiast, camper, or someone aiming to lower your carbon footprint, this guide will walk you through each step to assemble a functional, portable solar power station on a budget.
Why Build a DIY Solar Generator?
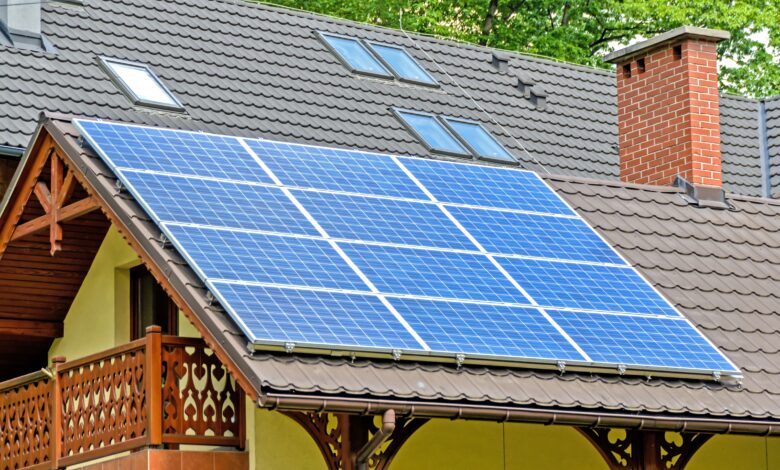
Solar energy is one of the cleanest and most sustainable power sources available. Millions of barrels of oil have already been saved thanks to this renewable technology. People across the globe, including in developing countries, are now adopting solar solutions—some even creating their own.
A DIY solar generator can be a lifesaver for:
- RV owners
- Campers
- Van dwellers
- Off-grid cabins
- Emergency power outages
Building it yourself saves money, allows for customization, and gives you a deeper understanding of how solar systems work.
Step-by-Step: How to Build a Solar Generator
🛠️ Materials and Tools You’ll Need
1. Estimate Your Power Needs
Before you start buying parts, calculate your total energy consumption. This ensures you size your components correctly.
Use the formula:
Watts = Volts × Amps
For example:
A refrigerator using 120 volts and 5 amps:
120 × 5 = 600 watts
Now calculate total watt-hours needed daily and add 15–20% extra to account for losses and inefficiencies.
Example:
For Camping:
| Appliance | Amps | Hours |
| Mini-Fridge | 4 | 15 |
| LED Lights | 0.5 | 7 |
| Phone Charger | 2 | 3 |
| Laptop | 2 | 5 |
| Total Consumption: 83Ah | ||
| 83Ah × 12V = 996Wh | ||
| With 6 sunlight hours: | ||
| 996Wh ÷ 6 = ~166W, round up to 200W system |
🔧 Components You’ll Need
2. Solar Charge Controller
An MPPT (Maximum Power Point Tracking) controller is ideal as it improves solar charging efficiency by up to 30%. Top picks include:
| Model | Amps | Max Voltage | Battery Compatibility | Price |
| Victron SmartSolar | 35A | 150V | 12V–48V | $400+ |
| Renogy Rover | 40A | 100V | 12V/24V | $150+ |
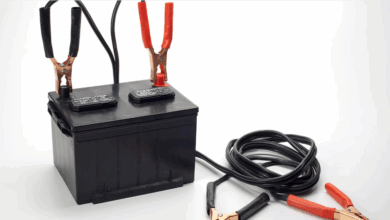
3. Battery (12V LiFePO4 Preferred)
| Battery | Weight | Capacity | Best Feature |
| Expert Power | 22.6 lbs | 100Ah | Delivers more capacity than rated |
| Lossigy LifePo4 | 23 lbs | 200Ah | 5000+ cycles |
| Renogy 12V | 25.3 lbs | 100Ah | 8x more life than lead-acid |
4. Pure Sine Wave Inverter (2000W Recommended)
| Inverter | Peak Output | Weight | Dimensions | Price |
| Renogy 2000W | 4000W | 12 lbs | 17.8 x 8.6 x 4 in | $240 – $350 |
| Go Power 2000W | 4000W | 19 lbs | 16.6 x 8.2 x 6.5 in | $950 – $1050 |
| GoWise Power 2000W | 4000W | 12 lbs | 17.1 x 9.3 x 4 in | $250 – $350 |
5. Rugged Enclosure
A heavy-duty milk crate works great:
- Lightweight
- Drills easily
- Portable
- Inexpensive
- Ventilated
6. Additional Tools and Accessories
- Utility knife
- Tape
- Circuit breakers (100A)
- Screwdrivers
- Wire cutters/strippers
- Glue gun
- Voltmeter
- DC/AC ports
- XT60 connectors
- Quality wiring
🏗️ How to Build a DIY Solar Generator: Assembly Instructions
Step 1 – Buy All Components
For this build:
- 100Ah LiFePO4 battery
- 1000W inverter with built-in MPPT controller
- Circuit breaker (100A)
- Milk crate
- Quality wires and connectors
- Some DC output ports
Step 2 – Test Components
Connect and test components before mounting:
- Red wire = Positive
- Black wire = Negative
- Connect inverter to the battery and power it on to ensure functionality
- Check MPPT controller or BMS indicators
- Test with a small load (like a light bulb)
Step 3 – Prepare the Enclosure
Use a milk crate for the frame:
- Secure battery at the bottom
- Mount inverter on top using bolts
- Route wires through the holes
- Allow space for breakers and controller
Step 4 – Mount and Wire the System
Inverter Mounting:
- Place on top of crate
- Drill and bolt securely
Circuit Breaker Installation:
- Use a 100A breaker
- Mount under inverter for short wiring paths
- If using external MPPT controller, install two breakers (battery > inverter, inverter > controller)
Wiring Guide:
Positive (Red):
Battery → Breaker → Inverter → MPPT Controller (if external)
Negative (Black):
Battery → Inverter
(Use a large bolt to join multiple negative cables)
DC Ports:
- Connect in parallel
- Mount port bar near inverter
AC Ports:
- Use standard wiring:
Green = Ground, Black = Live, White = Neutral - Check inverter’s AC IN/OUT labels
Step 5 – Connect Solar Panels
- Connect solar panels in series (for higher voltage)
- Use XT60 connectors into inverter’s PV input
- Verify charging with sunlight input
Example Setup:
Two 100W panels in series for 200W input.
✅ Benefits of Building Your Own Solar Generator
- Green, clean, and renewable energy
- Zero running costs
- Repairable and upgradable
- Customizable based on your energy needs
- Higher output for the price vs. store-bought units
⚖️ Pros and Cons
Pros
✔ More power per dollar
✔ Custom component selection
✔ Great for off-grid travel and RV life
✔ Easy to repair or expand
Cons
✖ Heavier and bulkier than commercial units
✖ Less weather-resistant
✖ Requires basic technical knowledge
Building your own solar generator is a rewarding project that not only saves money but also gives you the flexibility to tailor your power station to your exact needs. Whether you’re preparing for an emergency, heading off-grid, or just want a sustainable energy solution—this guide makes it simple for anyone to get started.


![How to Bypass CO Sensor on Generator – [4-Step Safety Guide]](https://www.generator411.com/wp-content/uploads/2025/08/co-sensor-on-generator-390x220.png)